How are they formatted?
It is best to start the process of decorating a table for a banquet by working on the place allocated for the bride and groom.
However, the style of arrangement of this important area should have common features with other elements and attributes for it.

This is usually done by specialists, they are called artists or designers. They have made several recommendations regarding this issue.
Thanks to them it will be possible to achieve the desired result:
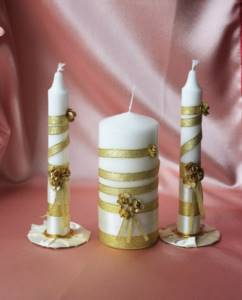
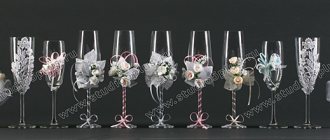
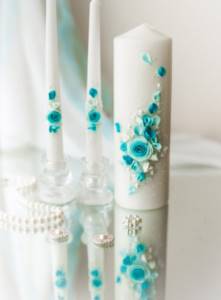
- The style you choose for this location should include matching candles. For them, it is necessary to use the same style solutions with the design of glasses, champagne bottles, balls, tablecloths and other elements;
- It is necessary to pay attention to the size of wedding paraphernalia, since it is important not to allow it to be excessively thin or long in size. In addition, it is recommended to add a medium-sized candle with wide shapes;
- Decorative parts for products must be made with special care so that during the procession of burning candles nothing lights up, melts or falls off.
How to make a candlestick from foil with your own hands
Prepare the following items: sheets of gold or silver metal foil in A4 format, Moment glue, cutters, scissors, a simple pencil with a blunt lead or a covered pen, and a ruler.
Progress:
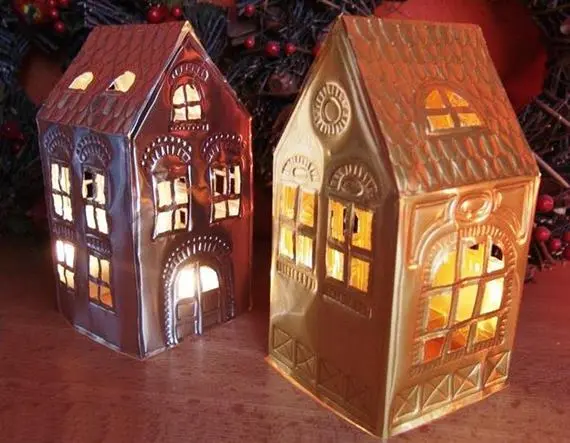
Take a prepared sheet of foil, cut it into four equal parts (widthwise), but do not cut them off. On one side you need to leave 1 cm for the seam. Two of the resulting parts will be the ends of the house, the other two will be the facades, they are located one after the other. Now let's move on to the roof. At the end parts the roof is triangles, at the facades it is rectangles. The dimensions should be taken as follows: wall height - 5.5 cm, height of the top point of the roof - 8.5 cm.
When marking the end parts of the house, leave 1 cm at the end of the roof rectangles for the seam. When you glue the entire structure, these places will need to be bent and pressed together.
Now you can start cutting out the shape along the contours. After this, draw fragments of windows and doors. It is convenient to make several windows on the roof - it will be more convenient for you to light a candle inside the house. The more openings there are, the brighter the flame will be. It is convenient to make window and door openings using a cutter.
You can also make house decorations yourself. We will tell you further how to successfully design a product.
Place the paper on the soft side of a work board or mat. You can place a rolled newspaper underneath it. A solid base is needed so that the contours of the patterns can be clearly identified. Outline all openings with a dull pencil or pen (it is better not to use sharpened products, as they can damage the material).
Experts at the Witch's Happiness store recommend:
Black twisted candle with herbs “Against Evil” Wax candle with herbs
216 rub. 270 rub.
buy
Column candle 14 cm black Column candle absorbing black color
221 rub. 245 rub.
buy
Before decorating the finished house, we advise you to practice on an unnecessary piece of foil. This way you can understand how hard to press the pencil so that you get a beautiful pattern without tearing the paper.
To make the house cozy and elegant, use the simplest lines and shapes possible. Draw tiles on the roof. Its contours can be carefully cut so that it is beautifully illuminated by the light from the candle.
Having finished decorating, form all the folds of the house and prepare the seams. Apply glue to the latter and attach them one to the other. Proceed carefully and slowly. Foil is a thin material and is quite difficult to glue.
Once the house is ready, place a candle inside in a flat container. To avoid unpleasant situations with an open flame (especially in families with children), it is better to use an LED flashlight as a light source.
What materials are beneficial to use?
In fact, this process is particularly fascinating and will be able to interest the author creating the necessary candles for a long time.
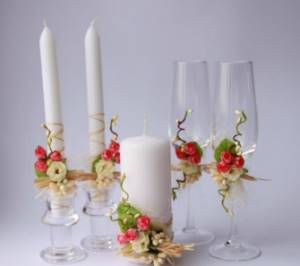
For decoration, you can use many types of materials such as chains, satin ribbons, gift wrapping paper, shells, fabrics, lace, cold porcelain, coffee beans, polymer clay and more.
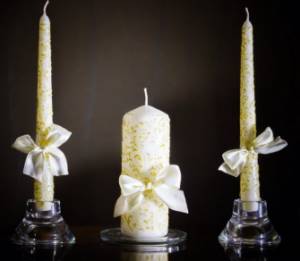
According to the method of decoration, this process is divided into modeling, painting or decoupage. Already existing versions can be seen in the photo of wedding candles.
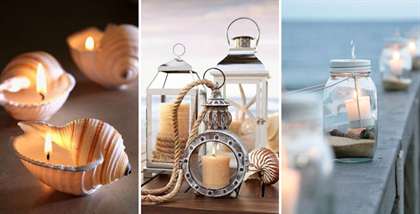
Sea style
To decorate a wedding in a marine style, you will need a blue candle, as well as sea shells, sand, rope, a decorative jar, and scissors.
The work consists of two stages:
- several blue candles are glued together and tied with rope;
- Sand is poured into the bottom of a decorative jar, prepared candles are inserted into it, and the bottom is lined with shells.
Editor's choice: How to dress the groom for a summer wedding, ideas with photos
A very unique decoration that looks fresh and original on the table.
Let's try to decorate candles for a wedding with our own efforts
This option should be considered ideal, since your own view is best suited to achieve the necessary atmosphere of the wedding ceremony. Decorating wedding candles based on your own efforts will create from this attribute a real symbol of future family happiness.
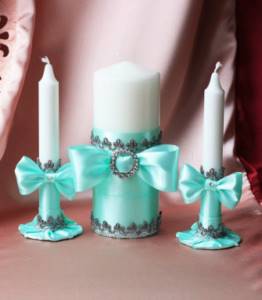
In the process of creating a sketch, it is advisable to take into account the appearance, dimensions and the need for the presence of a candlestick.
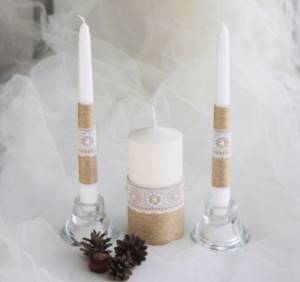
High modifications of candles are usually used as table decorations for banquets. For them, it is most beneficial to use an exquisite candelabra, thoughtfully complemented by flowers with delicate shapes.
Merry flowerbed
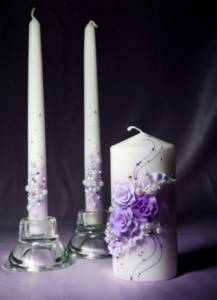
At any wedding, flowers are almost the main decoration of the celebration. And they also decorated the candles on the wedding table, so the wonderful mood of the holiday will stay with you for a long time. But decorating candles with fresh flowers is not recommended because of their fragility. It is unlikely that they will be able to last a whole day without losing their freshness and beauty.
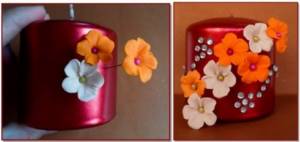
But there is an excellent alternative - flowers made of polymer clay. Such decorations will look no worse than a real bouquet, but in terms of durability they will not be inferior to the candle itself. And making them with your own hands will not be difficult.
For this we need:
- finished candle;
- polymer clay of several colors;
- thin stick or toothpick;
- rhinestones;
- glue;
- pins with beads at the end;
- nail scissors.
The process of making a flower from polymer clay is as follows:
- Roll a small piece of clay into a ball, then pull it out on one side. You should get a drop-shaped figure.
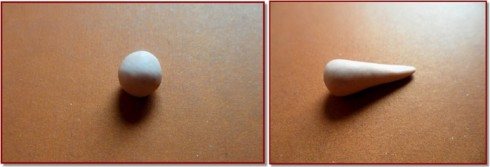
- Using nail scissors, cut the blunt end of the drop into 5 parts and unfold them using a thin stick.
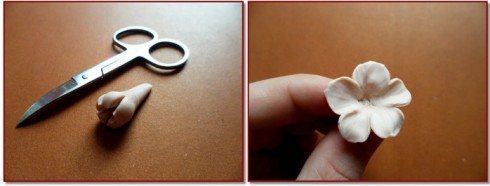
- Place a pin in the middle of the resulting flower, with which it will be attached to the candle. The head of the pin will serve as the core.
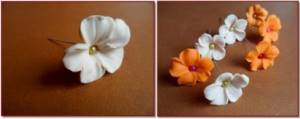
- In this way, prepare the required number of flowers and place them in the oven, preheated to 120°, for 7-9 minutes.
- We attach the resulting flowers to the candle. You can cover it with rhinestones.
Related article: Crochet lace border with roses
How to decorate candles with ribbons?
As examples, we will now consider a master class on how to make candles for a wedding and decorate them efficiently. It is best to use satin ribbons, as they create sufficient sophistication for this wedding element.
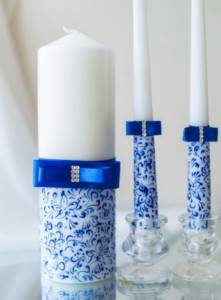
First, it is important to choose a decoration style, its color and start creating a sketch. For basic work you will need the following set of tools:
- the required amount of satin ribbon;
- It is advisable to use high-quality glue suitable for this purpose;
- you will need working scissors;
- don't forget about threads;
- You will need a needle to sew together various parts.
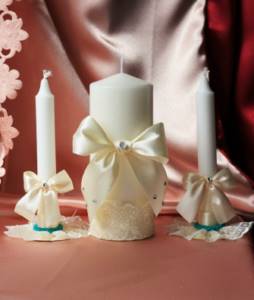
Original candlesticks for a wedding – master class
Creating a beautiful candle is not everything, the main thing is fixing it.
DIY candlestick decor:
For this purpose you need to use a candlestick. It can be standard and creative.
Master class on creating a floating candle
This is one of the most common ways to create floating candles, but it doesn't make it uninteresting.
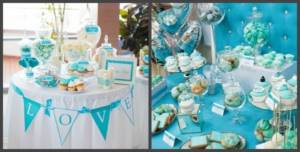
- Small round wax products are selected.
- After this, select a container in which the candles will float. This could be white ceramic dishes or a glass vase.
- Then the container is filled with water. Fresh flowers without legs are immersed in it. You can use any flowers, for example, asters.
- If desired, you can add fresh chopped fruit.
- Wax products are lowered into a container of water. Now they can be lit.
Also, these wedding attributes can be arranged in sand containers.
With the help of candles you can really create a romantic atmosphere at a wedding celebration. However, this decorative element also has its drawbacks. Firstly, any wax product goes out sooner or later, so someone will have to promptly replace the old attribute with a new one, and secondly, guests and newlyweds should be careful when dancing or walking near a candle, because if you snag it, the person is wearing clothes may ignite, as with sparklers.
How to decorate based on silver style?
For this option, it is best to use beads that create a charming imitation of the presence of pearls, satin ribbon, and delicate versions of decorative roses.
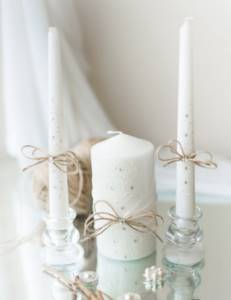
What is required for this and how to decorate wedding candles in this way:
- prepared ribbon based on pearl beads;
- the required amount of satin ribbon;
- pre-prepared decorative versions of satin roses;
- working scissors;
- sufficient amount of suitable glue
Decoration with lace and ribbons
There are a lot of options for decorating a paraffin product designed to bring warmth into the home. There is no point in describing everything, because in this matter the main thing is to understand the principle itself, and then turn on a little imagination and create your own style, unlike others! Specifically for this option you need to stock up on:
- a glue gun, which can be found in building materials stores or handicraft supermarkets;
- ribbons of different colors and widths, for example, take white 5 cm and beige 3 cm;
- white lace, 2 ribbons;
- candles;
- lighter;
- decorative frame (about 4 cm x 3 cm in size).
Let's get to the fun part: decorating the candle.
- To begin, take a white ribbon 5 cm wide.
- Treat one side with a lighter and secure it to the candle with a glue gun.
- Wrap the tape around and cut off the excess.
- Touch the edge again with a lighter and secure.
Now let's move on to the lace.
- They need to wrap the already fixed tape on the top and bottom sides in the same way using glue.
- Take a three-centimeter ribbon and wrap it in the center of the 5-centimeter, between the laces.
- Next we make a bow: take a beige ribbon, cut about 7–8 cm, trim its edges with a lighter and fasten them with a glue gun. Then you need to make a “pillow”: roll 3 cm of white ribbon into a tube, fold it in half, and secure it to the back of the folded beige ribbon. Place the frame in front and push the pad forward a little and glue it with a glue gun.
- Attach the resulting bow to a beige ribbon and the decor is ready.
Tip: Be careful when using the glue gun so as not to burn yourself and ruin your work.
So you have made your own wedding candles so that they can decorate your home and family wedding table. Believe me, having made such a decoration yourself, you will receive many compliments on your holiday, and it will become even brighter for you, and the decorative element will decorate the family interior for a long time!
Registration process
Beaded braid is attached to the base of the candle and wrapped around half of its surface.
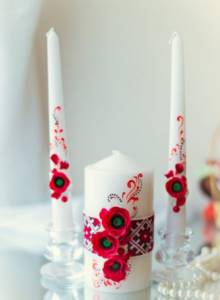
Now is the time to start wrapping the candle with a narrow version of the satin ribbon. However, it is necessary to leave about a quarter of its surface free. It is easily fixed if high-quality glue is used.
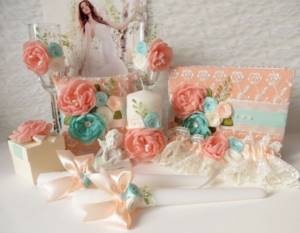
The place where the braid and ribbon touch is decorated with satin roses; they are secured with glue.
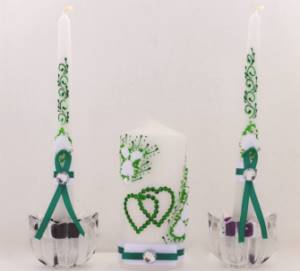
Beads are used to complete the decor. If everything was done correctly, the charming accessory will be ready.
- Wedding wish tree: 89 photos of great ideas and tips
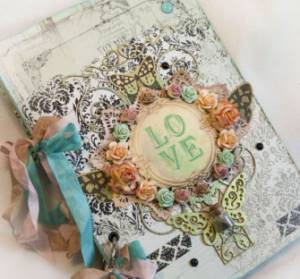
Book of wedding wishes: an original way of congratulations in the photo
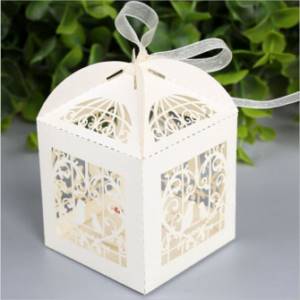
Bonbonnieres for a wedding - ideas for an elegant and small gift + photo
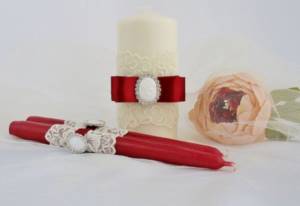
Making candles yourself
You can use purchased products, but if you want to create your own and unique version, then you should do everything from start to finish by hand and unleash your full creative potential. In order to create wedding candles with your own hands, you need:
- paraffin products of the desired color and quantity, for example, 4 white and 2 blue;
- plastic bottles or tin bottles of the required diameters: one larger and two smaller;
- wick;
- a metal ring or any other small weight with a hole;
- kebab sticks;
- cold water in a large container;
- scissors.
Tip: before choosing colors for wedding candles that will warm the hearth, make sure that they match the overall style of the holiday. And when everything is decided, prepare the necessary components and lay them out in front of you to get the job done.
Next, you should be careful and accurately perform each step in the specified order. So:
- You need 4 white candles and 2 blue ones to melt in a water bath in different containers. If you want them to have some kind of aroma when burning, add a little essential oil with your favorite scent while melting.
- Take the mold of your choice (it’s better to start with a large one), a kebab stick, a wick and a weight.
- One side of the wick should be tied to a skewer in the middle, and the other to a weight.
- The resulting structure must be placed in the mold so that the skewer holds it on the edges of the selected container.
- Now you need to pour the melted paraffin into layers of the intended thickness into the mold.
- Once the paraffin has completely hardened, use scissors to cut the mold to release the resulting candle.
- The final touch is to cut off the kebab stick.
Tip: to prevent the multi-colored layers from mixing with each other, after each poured layer, lower the mold into a container with cold water for a couple of seconds so that the paraffin hardens faster.
If you have a defect or layers are mixed, don’t worry - use your imagination, play with or decorate this area, and you can clean out any excess irregularities with a knife or any other flat object. Using the same principle, you need to make paraffin products of smaller diameter.
Tip: to dissolve paraffin faster, you can grate it.
Photos of wedding candles
