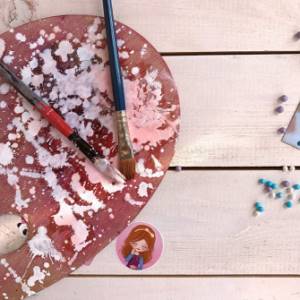
Be an artist. Brushes, paints, watercolors
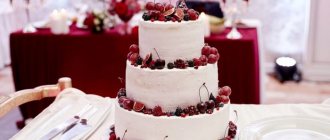
If you still, when thinking about a cake, imagine a snow-white classic with creamy (God forbid) roses or fruits under cold gel, then you should definitely forget about all these outdated pictures and try yourself a little as an artist. You can try this by making a bright, unusual cake using watercolor technique.
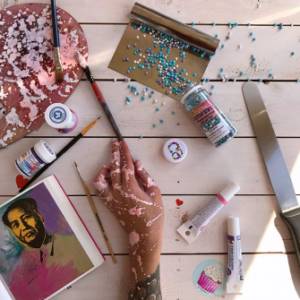
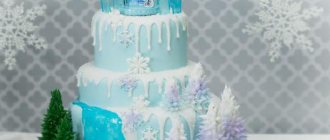
Watercolor cakes are a current confectionery trend in recent years. With this technique, you can imagine endlessly: mix colors in various combinations, add drama or Russian cosmism (whichever is closer to anyone) and get a new result every time. The pleasure of creativity, ease of use. and you can also eat it, because even though it’s artistic, it’s still a cake.
So, we will need:
- cake (if this ingredient is missing and nothing comes to mind, you can use the Red Velvet recipe);
- smoothing cream;
- rotating table;
- pastry spatulas and scrapers;
- favorite colors of food coloring (you can use both gel and dry).
Prepare the base cream for leveling (for a cake approximately 20-22 cm in diameter):
- 100 gr. butter;
- 100 gr. powdered sugar;
- 300 gr. cream cheese (attention! not mascarpone, but cottage cheese).
All ingredients must be at the same temperature!
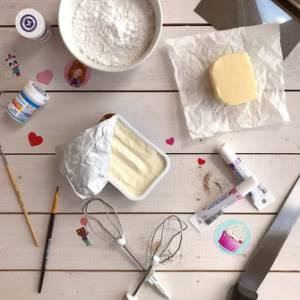
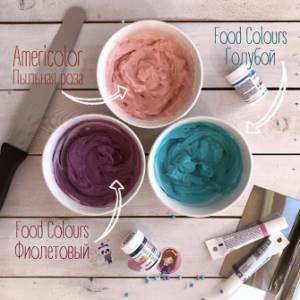
Combine butter with powdered sugar in a mixer until it has a creamy light texture. Then add cream cheese and beat a little more. Divide the cream into several parts (according to the number of selected dyes) and color them evenly.
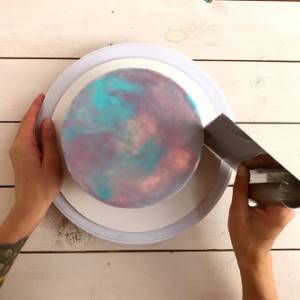
Now let's start finishing (secret: we recommend first making a rough coating of the cake and cooling it). Apply cream to the cake. Here you can use a pastry scraper or (if you are a perfectionist) several pastry bags without attachments. We alternate colors in random order. After the cake is completely covered with colored strokes, take a pastry scraper and pass it in a circle over the entire surface of the cake. We try to keep the scraper level, at an angle of 90 degrees to the substrate on which the cake is located.
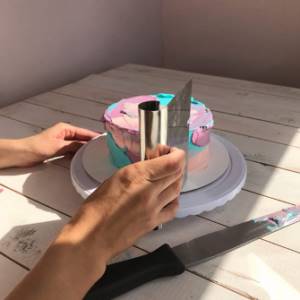
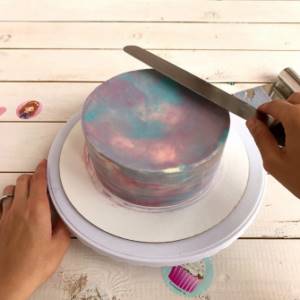
Periodically remove the cream that collects on the scraper and wipe the tool with a napkin. The more circular movements you make, the more the colors will mix with each other. Therefore, if suddenly your task is clear color patterns, try to fit within several turns. For ease of leveling, it is better to use a pastry table. This will help you achieve the perfect surface. If you find that in some places the cream does not lie evenly enough, you can add a few more strokes and go through the scraper again.
When leveling the cake, we recommend starting from the end, since the remaining cream accumulates not only on the tool, but also on the corners of the cake. On the upper part, the cream should be moved from the edge to the center with gentle, light movements. You can also use a long pastry spatula to finish the top of the cake, placing it on the surface and making several circular rotational movements.
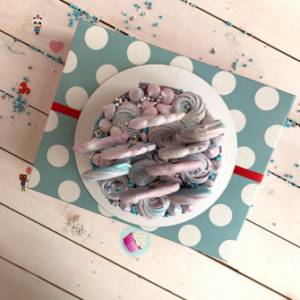
You can decorate the finished cake using watercolor techniques in absolutely any way you like. Both live (don’t forget about processing!) and edible flowers, fresh fruits and berries would look appropriate here. Or you can make such a cute and slightly naive decor from meringue by adding a scattering of sweet beads.
By the way, look for a guide to making meringue on the website next Wednesday