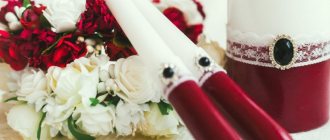
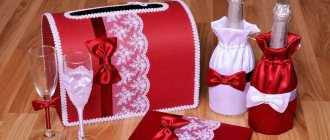
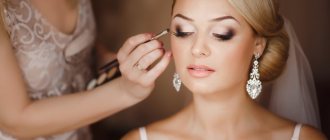
Various wedding decorations are an integral element of any ceremony. But their cost is often quite high.
Fortunately, creating wedding hair decorations with your own hands is not as difficult as it seems: you just need to purchase the necessary materials and carefully follow the technology for creating the item. The quality of such decorative elements will be at a high level, and various master classes with a detailed description of the process will greatly simplify and speed up the work.
What can you make jewelry from?
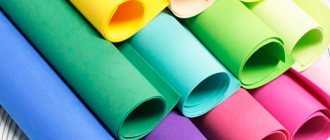
There are too many ideas and types of hair decorations to list. Everyone's creativity, imagination and decorative elements are different. But the main materials are:
- beads;
- beads;
- rhinestones;
- ribbons;
- laces;
- ropes;
- shells;
- buttons;
- glitter;
- decorative figures made of plywood or metal;
- polymer clay;
- foamiran;
- knitted elements.
A wire usually 0.4 mm thick, a glue gun or a thread with a needle will help to connect these materials.
Such materials are easy to find in sewing and online stores for creativity and handicrafts, or in joint purchases. If all this is already at hand, it’s worth reading the instructions on how to make the decoration.
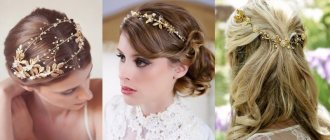
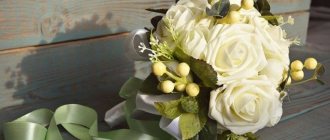
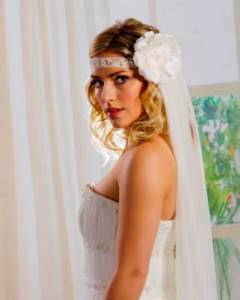
Accessory with fresh flowers for the bride's hairstyle
A wedding hairstyle can be perfectly decorated with decorative elements made using fresh flowers.
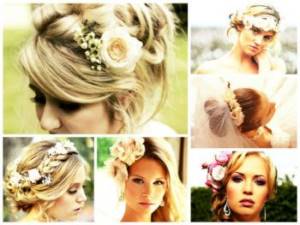
The optimal choice for creating such a decoration would be white gardenias, bright roses and multi-colored orchids. You can also choose more delicate types of flowers, such as buttercups.
To create such an accessory, it is best to use fully opened buds of convex-shaped plants; they will look good on the bride’s curls. To process a flower as a decorative element, you will need to use floral ribbons and wire.
Ribbons can be purchased at flower stalls or craft stores.
The procedure for making such decoration is as follows:
- The stem of the flower at the base is pierced with a needle, and a wire is pulled through the resulting hole. It is cut so that the ends remain with a length of about 20 cm.
- The wire is wrapped several times around the base of the plant, its ends twisted together along its entire length. This will help lengthen the flower stem.
- The stem of the flower is wrapped with floral tape and wire along its entire length, and the remaining fabric is cut off.
- From the edge of the created flower stem, a loop is made with a shape suitable for attaching the flower to the hair using a hair clip or hairpins.
When creating a hairstyle, it is necessary to avoid getting varnish on the created floral decoration.
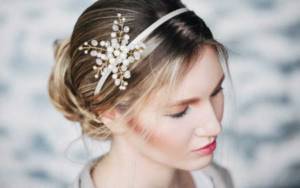
Branches made of beads and wire
This romantic accessory is suitable for the office, for a summer walk and even for a wedding.
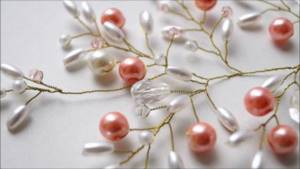
You will need:
- white beads;
- 11 rhinestones 7x15 mm in the form of petals of the same color;
- wire;
- nippers or scissors.
Technique:
- Cut a wire 1.2 m long and bend it. Make a small loop on the bend, bending the sides of the wire crosswise. At the intersection of the wire, twist it 5 times.
- A rhinestone is strung on one end of the wire, face up. That is, the wire comes in from the top and comes out from the bottom on the other side of the wire. The rhinestone needs to be moved back to the point of twisting and left there about 0.5 mm.
- Thread the end of the wire through the first hole again (the end of the wire comes out from the top). Twist the wire around the rhinestone.
- Twist 2 sides of the wire 3 times.
- Take the other side and repeat the same with a new rhinestone.
- Scroll 2 sides 5-6 times.
- To the side where the first rhinestone was put on, take 1 bead and bend the wire 7 mm from the main branch. It is better to twist the bead with pliers, pressing lightly.
- Roll 2 sides again 5-6 times.
- Place the white bead on the other side and do the same.
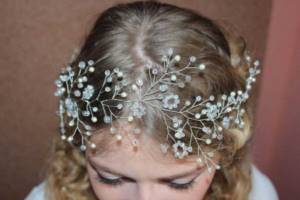
- Alternate rhinestones and beads, one on each side. After putting on 11 rhinestones, scroll the base so that it becomes a straight line. On the 11th rhinestone there will be the beginning of a branch with leaves, so direct the rest of the rhinestones and beads in its direction.
Attention! To make a decoration at home according to your own design, it is better to draw it on paper.
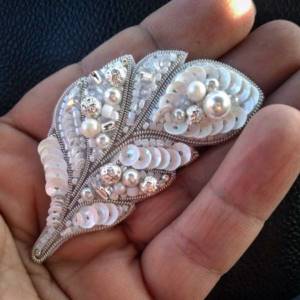
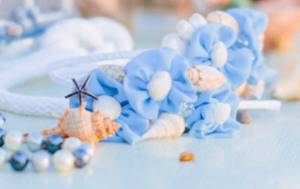
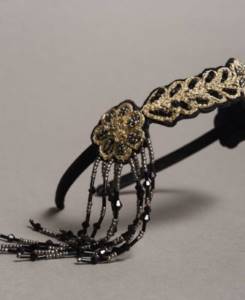
Beaded hair accessories
Beads in hair look very sophisticated, gentle, and feminine. Using such a simple material, you can create products of incredible beauty.
As for the manufacturing method, everything depends only on your imagination. This can be either weaving or decorating ready-made hair accessories - hairpins, headbands, elastic bands, tiaras, and so on.
It is best to glue the beads to the accessory using a hot glue gun. Using glue and beads, you can create unique and original patterns on hair accessories.
It is necessary to work with a glue gun very carefully, as excess glue will negatively affect the appearance of the finished product.
You can also use thin wire to make bead jewelry. By stringing beads on it, you can create an accessory with a stylish, unique design that suits you.
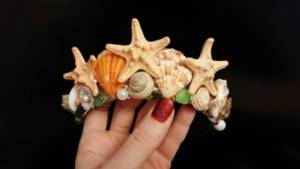
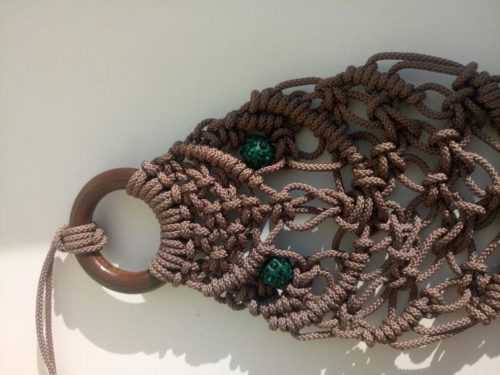
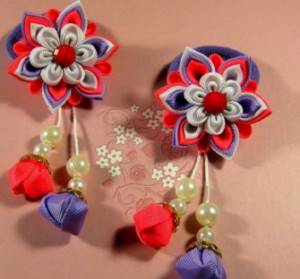
Headband made of twine and shells
The marine theme looks unusual. Who doesn't want to be a little mermaid Ariel when coming to the sea?
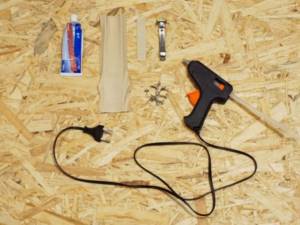
You will need:
- metal rim;
- leg-split;
- shells;
- pearls;
- golden rope;
- glue gun

Technique:
- Wrap the twine around the headband, securing with glue.
- Attach pieces of twine at equal distances from each other.
- Make a loose weave from pieces of twine: throw the rope over the rim and pull it through the resulting loop. Do not tighten, pass the twines through the free rings nearby.
- Attach the largest shell to the center of the weaving. Place a little less nearby. Attach small shells along the edges.
- Decorate with pearls and wrap with golden rope.
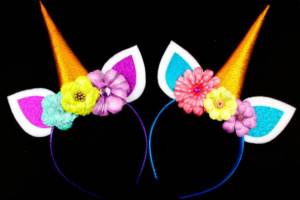
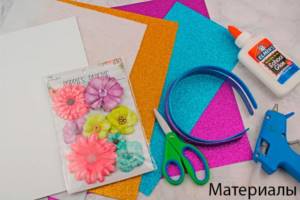
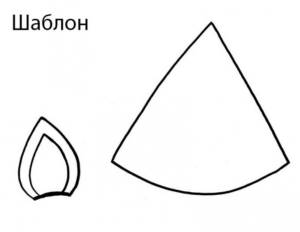
Unicorn Headband
You will need: a hoop, shiny cardboard, scissors, a glue gun, white felt, a simple pencil, artificial flowers.
Master Class
- Print or redraw the ear and horn template, then cut it out.
- Trace the ear template onto white felt and cut it out. For one headband you will need 2 felt ears.
- Cut 4 smaller ears from glitter card stock.
- Glue 2 glitter ears on both sides of the felt ear. Make 2 such blanks.
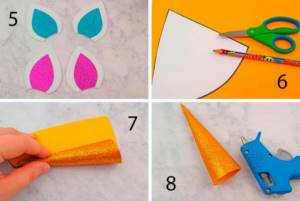
- Transfer the horn template onto glitter cardstock and cut it out.
- Form a cone and secure with glue.
- Cut out a strip of shiny cardboard and glue it to the surface of the rim.
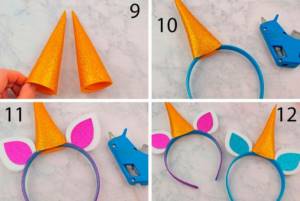
- Glue the cone in the center of the rim.
- Glue on the ears.

- Glue 3 flowers as shown in the image.
The Unicorn headband is ready! This fabulous decoration is perfect for any children's party :-)
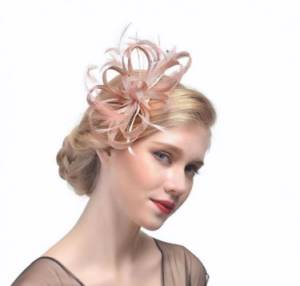
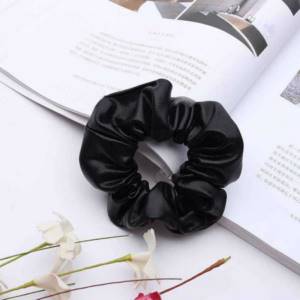
Ribbon bow with elastic band
You will need:
- tape 2.5 cm wide and 34 cm long;
- narrow tape;
- needle and thread to match the wide ribbon;
- a narrow hair tie.
Technique:
- Bend the wide ribbon in half and find the center.
- Hold the ribbon with the wrong side facing you and bring one end over the top to the crease. It turns out to be a loop.
- Make a loop with the other end: take it and pass it through the bottom to the crease. It should look like an inverted 8.
- The edge of one side is brought to the center and placed so that the front side of the tape is facing down. Do the same with the other side. If you turn the bow, then the ribbon should go diagonally from the front side.
- Using a thread and a needle, stitch the center from bottom to top. Do not cut the thread, wrap it in a bow and tighten it.
- Attach a bow to the elastic band using a glue gun.
- Tie a bow with a narrow ribbon and connect with a glue gun.
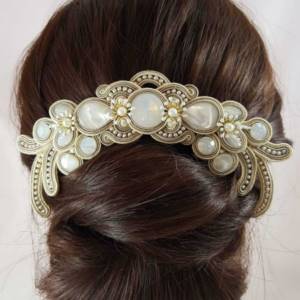
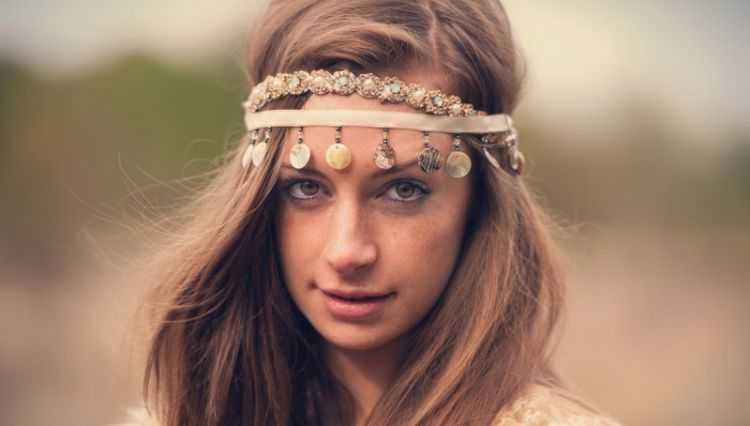
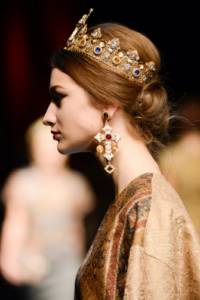
Diadem
It originated from the crown, but now it is more elegant. At first, the diadem was worn by male high priests, priests, and rulers. It could be decorated with precious stones, and the base could be gold.
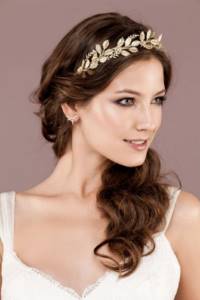
Today, the materials used are varied. The tiara is worn as a decoration on the head of a bride or girl for a theme evening.
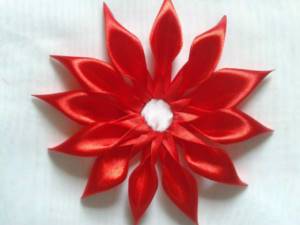
Daisies from ribbons for a tiara:
- Cut the ribbon into 28 pieces (ribbon length – 8 cm).
- Fold the ribbons in pairs and melt them under a candle.
- Make felt circles for each flower.
- Glue 14 petals onto the circles, and glue another row on top.
- Glue a felt circle into the center of the flower, place it on it and attach beads.
- Glue these flowers to the tiara or headband.
If you don’t have enough imagination to make a hairpin or other things, you can use photographs of your favorite head decorations.
Leather triangle headband
The look of a wild Amazon will be completed with a headband made of leather triangles. Stylish, beautiful and unusual!
You will need:
- leather in 3 colors (can be brown, beige, white);
- paper;
- scissors;
- pencil.
Note!
Macrame: diagrams, interesting projects and detailed descriptions of making crafts
- Crochet amigurumi - examples of how to make a beautiful toy with your own hands (75 photos)
- Coffee topiary: step-by-step master class on how to make a small decorative tree from coffee beans
Technique:
- Draw templates on paper: a rhombus with sides of 5 cm and triangles of different sizes.
- Cut out triangles of 2 pieces of the same size and 1 piece with a beige rhombus.
- Place a rhombus and symmetrically place the triangles on the sides of the same color and size, overlapping each other.
- Secure them with hot glue.
- Cut 2 thin strips from light leather and 1 from brown leather, about 5 mm thick. Fasten the strips together so that the brown one is in the middle, and the light ones cross on the cross at an angle on the edge.
- Carefully braid the stripes into a reverse braid.
- Attach the end of the braid to the outer triangle at the edge.
- Make the same braid on the other side.
- Cut 1 strip at a time and attach it to the braid with glue - these will be the ties. Tie a knot at the attachment point.
If a themed party, wedding or celebration is planned, the image can be thought out in detail and effectively stand out from the crowd. The main thing is to approach this creatively.
Decorating the hairpin
We have more or less figured out the jewelry techniques - all that remains is to figure out how to make a hair clip with your own hands.
There are different types of hairpins, but they usually have a metal plate to which an automatic mechanism is attached.
Such hairpins are made industrially - and, as a rule, holes are left in them along the edges for attaching decor to the hairpin. We recommend using these holes to sew flowers, bows or beads to your hairpin.
Another option is the so-called invisible pins. The question “how to decorate a bobby pin?” Today it sounds quite strange - but the times when people tried to hold their hair together with such hairpins as inconspicuously as possible are long gone.
Invisibility glasses are decorated quite brightly and can serve as a spectacular accessory. Invisibility pins do not always have special holes for decoration - in this case we recommend using superglue.
The main thing is to do this carefully so as not to leave marks on the decor. On YouTube you can find many master classes on making hair clips for every taste. And then it’s a matter of practice and inspiration.